10.2. Sphinx Tutorial
Sphinx is a static content generator. This tutorial covers how to get Sphinx up and running.
10.2.1. Create From a Template
First, we are going to get jump-started with a template. Here is a link to that template:
https://github.com/pvcraven/sphinx_template
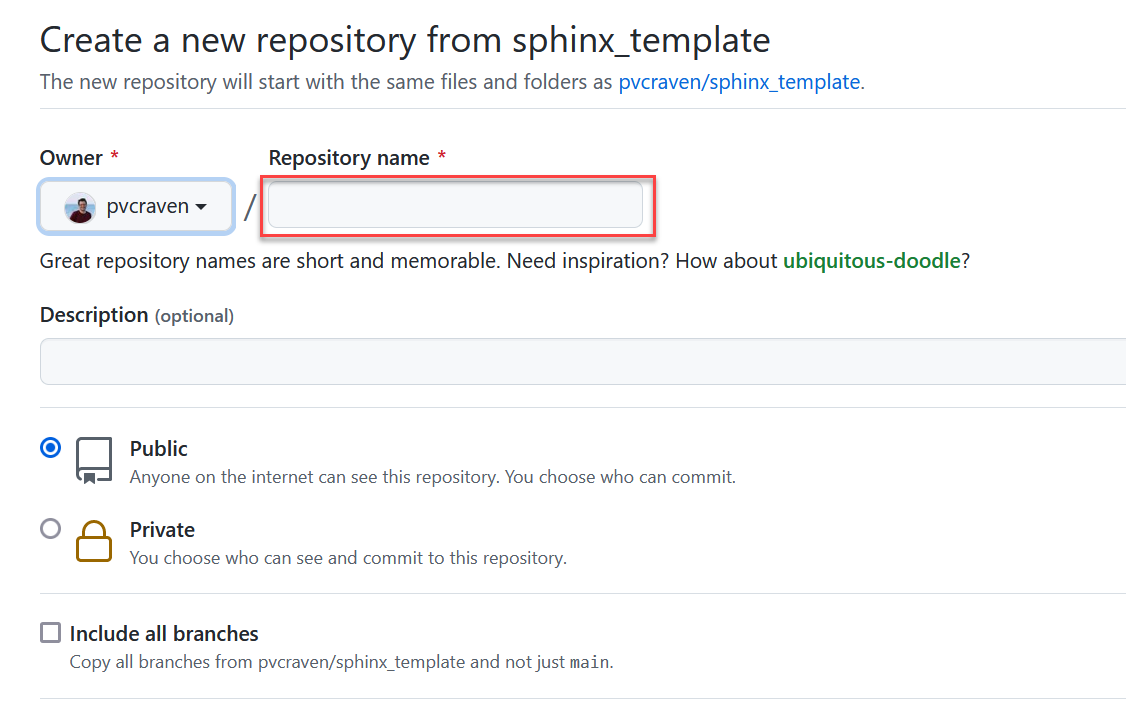
Click “Use This Template”:

Next, give the project a name:
Once you’ve done that, go ahead and copy the link to clone your project:
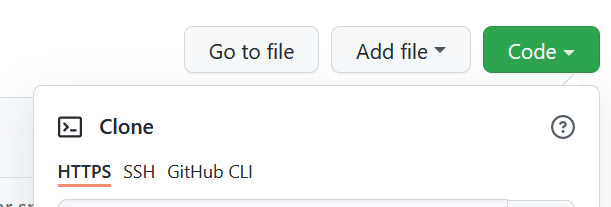
Then, cd Desktop and git clone your project.
10.2.2. PyCharm Setup
Sphinx uses the computer language Python. The program PyCharm helps to develop Python programs. While we aren’t going to code in Python, we are going to run the Sphinx tool, and PyCharm can make it easier for us.
The lab computers already have Python and PyCharm installed. If you want it installed on your personal computer, see the instructor for how to do that.
Start up PyCharm. It will either open to a dialog with a button to open a new project, or you can select File…Open Project.

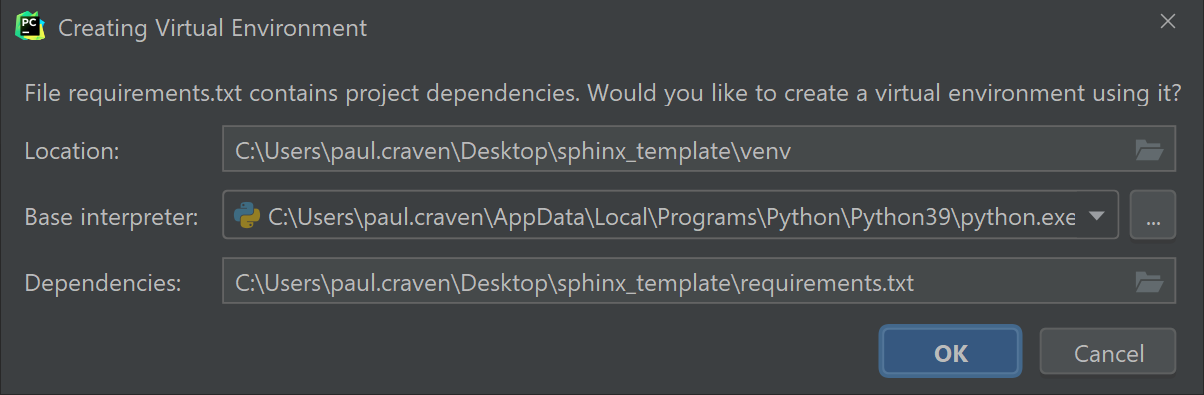
You should get a dialog box asking to create a “virtual environment” to save your Python setup. Go ahead and hit ok.
10.2.3. Navigating Your Project
On the left of your screen, PyCharm lists your project files. Double-click to open them up.
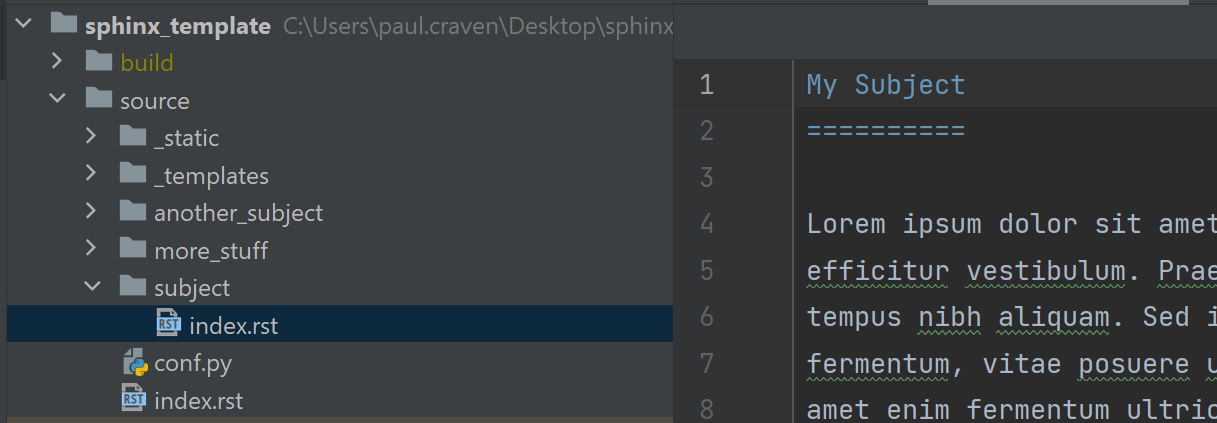
You’ll be editing the restructured text files ending in .rst.
Navigate those files. The instructor will show you how the directories
and Table of Contents (TOC) work.
When you edit an RST file you might see a preview pane. This does not work well and just confuses people. Turn it off.

10.2.4. Build Your Project
To convert your project from .rst to .html files, you need to “make”
the project.
- Select the “terminal” tab
- Type
make html - Confirm the build happened with no errors or warnings
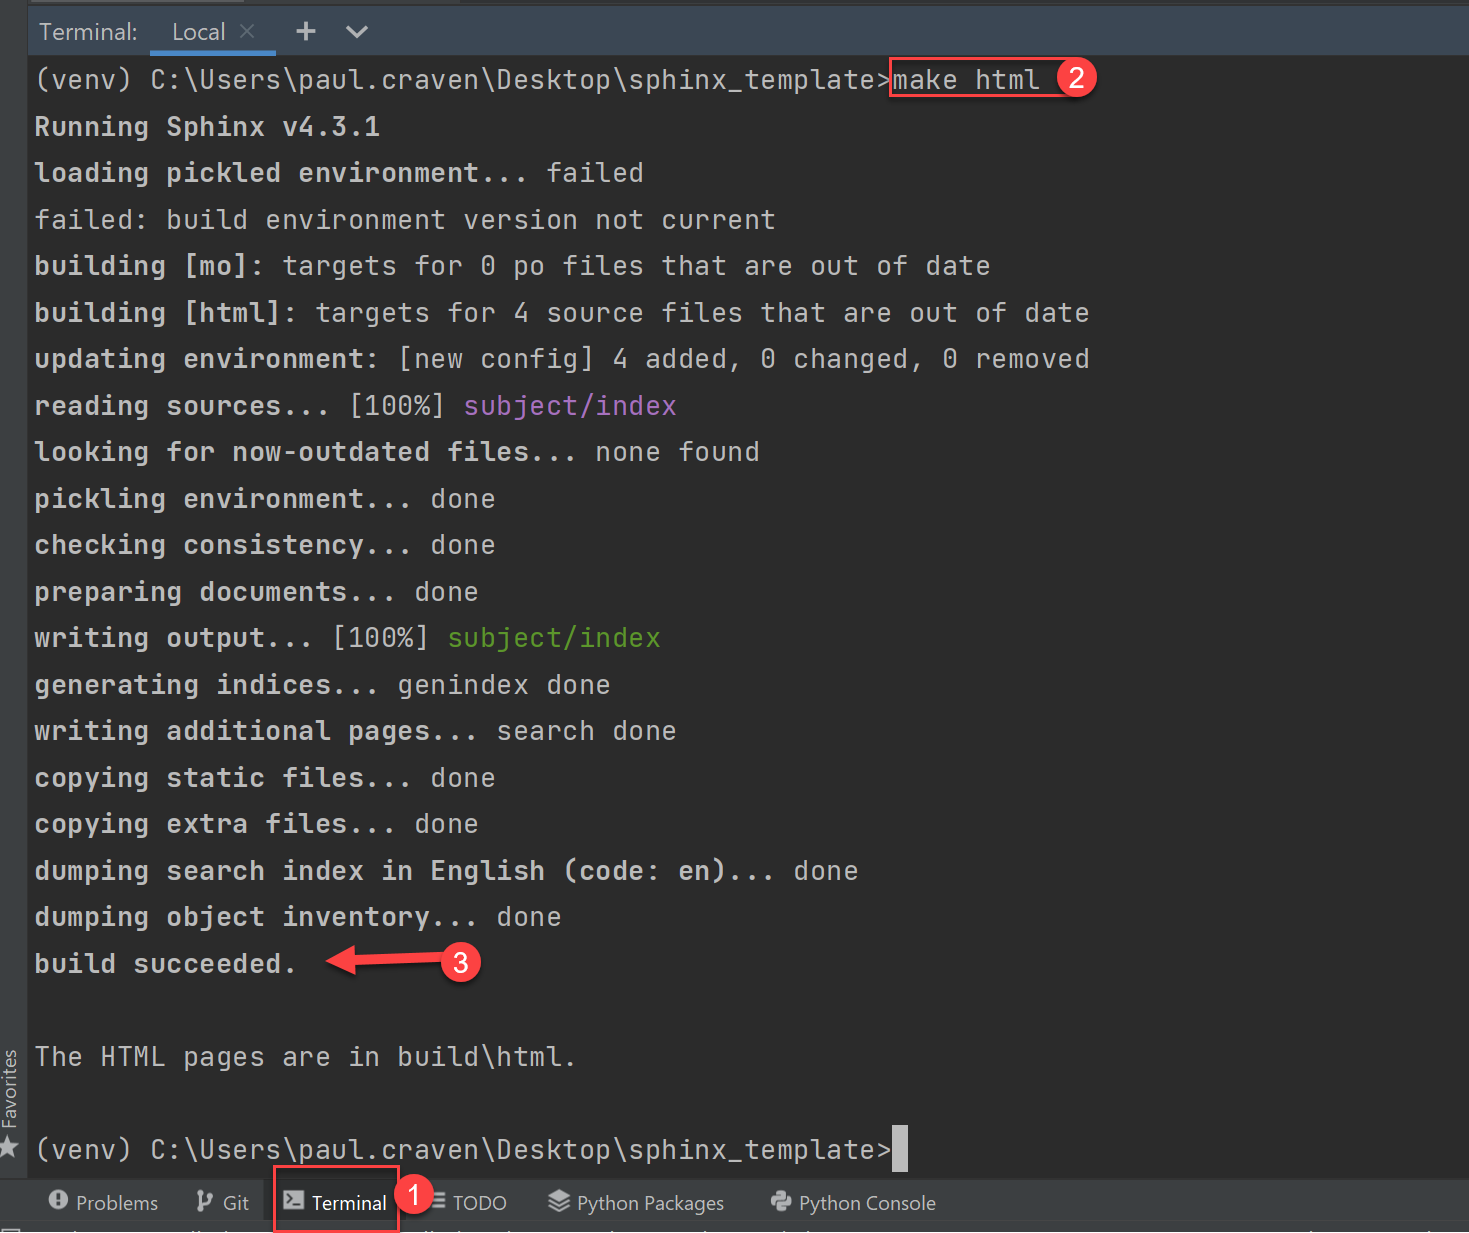
After this, you should have a “build” directory with the .html files.
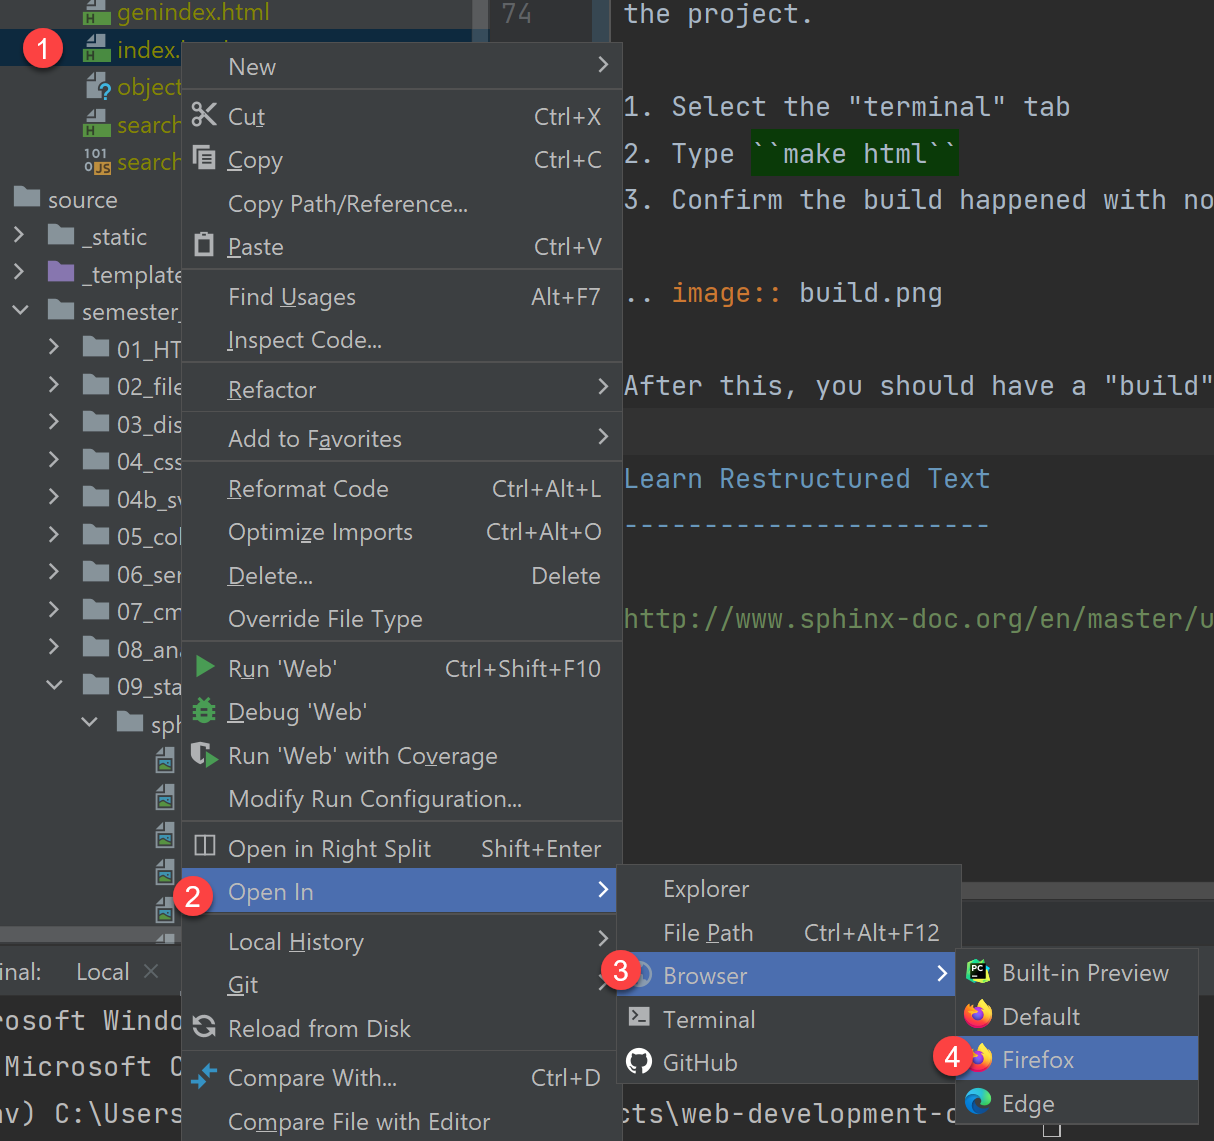
You can open the file in a browser by navigating to it, or using this
buried menu item:
10.2.5. Make Clean
Occasionally the left navigation won’t show correctly on all pages.
The make html file only updates files that have changed. But if
your change updated the navigation items, old files won’t have their
navigation rebuilt. We can fix that by deleting all the files in the
build directory with the command make clean and then rebuilding
everything with make html.
make clean
make html
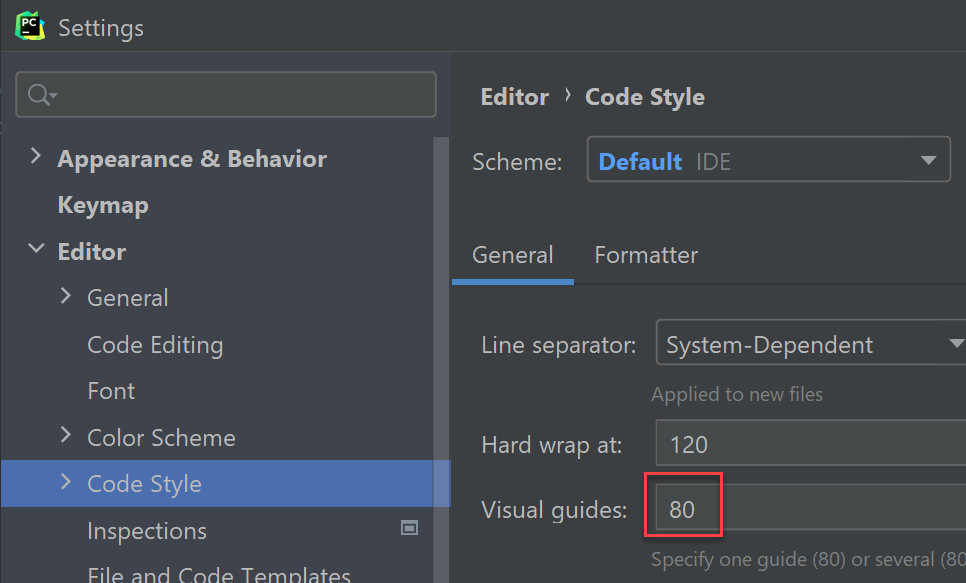
10.2.6. Visual Guides
10.2.7. Learn Restructured Text
Next, go through these commands on how to do basic RST items:
http://www.sphinx-doc.org/en/master/usage/restructuredtext/basics.html